 FQS Coffee Koozie – Blog Remix Project
Fat Quarter Shop Remix Sewalong
I did another project with the Fat Quarter Shop.
This time it was a Blog remix – bringing back an old favorite (old favorites made new).
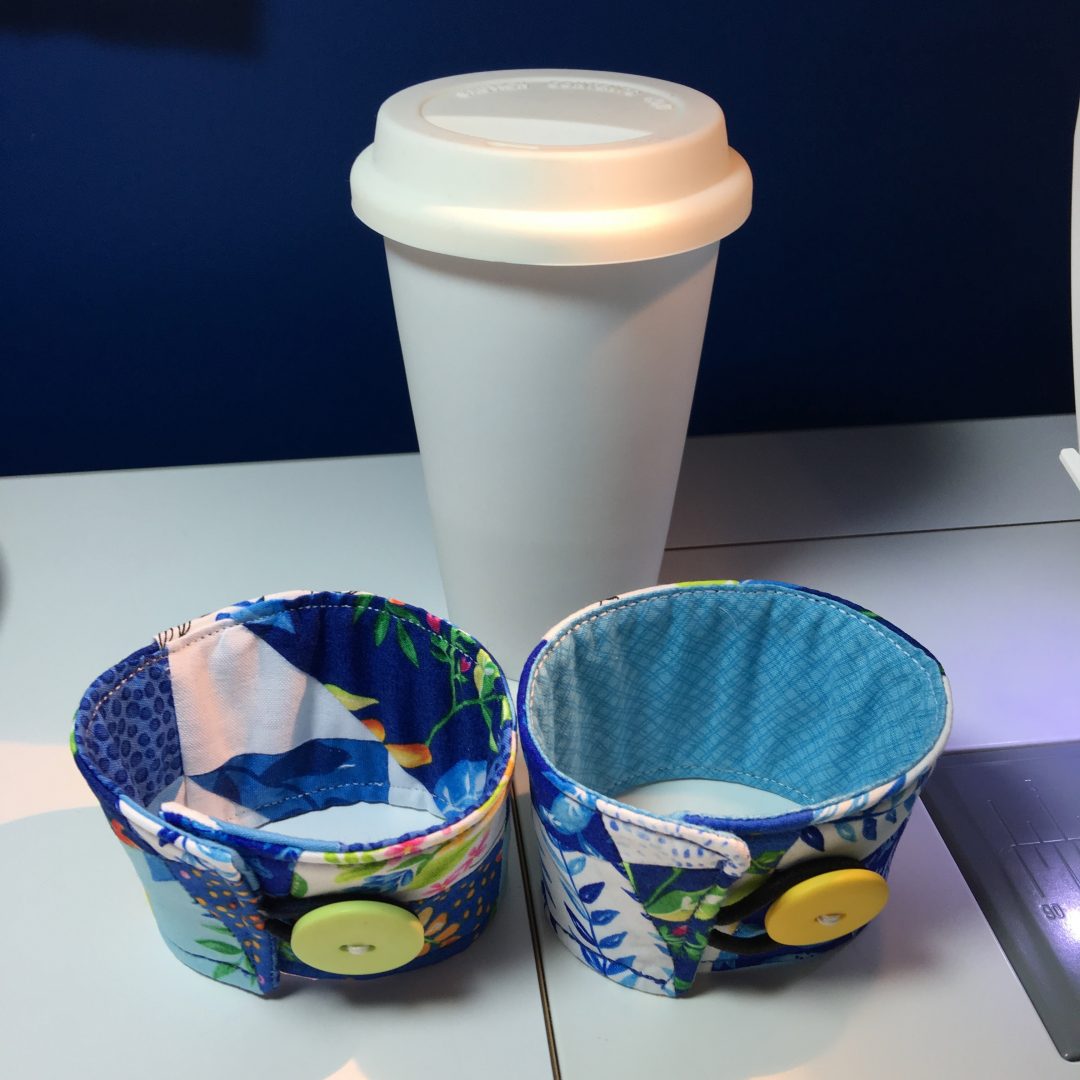
This project is a Coffee Koozie (put this sleeve around your coffee cup so that you don’t burn your fingers).
It was a fun and I think pretty cute project:
 The Koozie in the foreground has a pieced lining.
Quick Instructions and Pattern
You can make the project from mini charm squares (2 ½ x 2 ½”) or you can use leftover fabrics like I did.
It is very fast and simple. Get the pattern from the Fat Quarter shop blog here: Coffee Koozie. You can also see lots of examples from other bloggers on the blog.
I’ll show the process very quickly, but please go see Kimberly’s video. She explains it all very well, You can view it here: https://youtu.be/hGRTtqfm6KE
Photos of the making of my Koozie
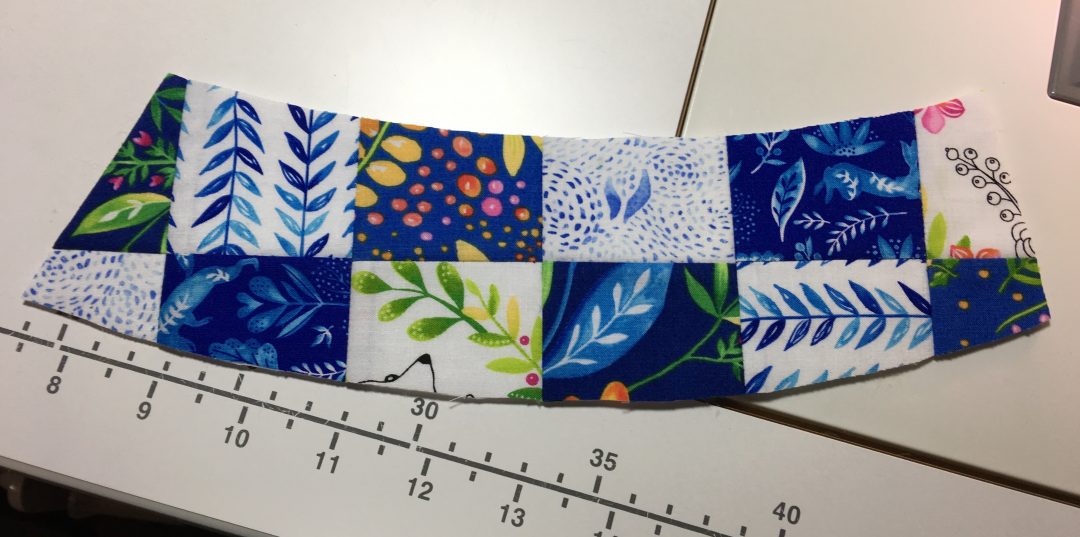
First step: Fabrics: Start with 6 light and 6 dark 2 1/2″ squares and a piece of batting. You will also need a solid piece for the backing. (For one of my backings, I used a few leftover half square triangles, although I prefer the solid colour lining).
Place your selected fabrics as per the photo below: one dark square over a light, one light over a dark and so on…. Pick the top square and bottom square and sew together. Press to the dark side! (My inner Star Wars follower likes when I say that..)….
Sew the first set of squares on the batting, then place the second set on top and stitch. Press toward the right… Continue adding 2 sewn squares one set at a time, until they all are used and the batting is all covered. In the photo below, you can see some batting not yet covered and 2 units waiting to be sewn on.
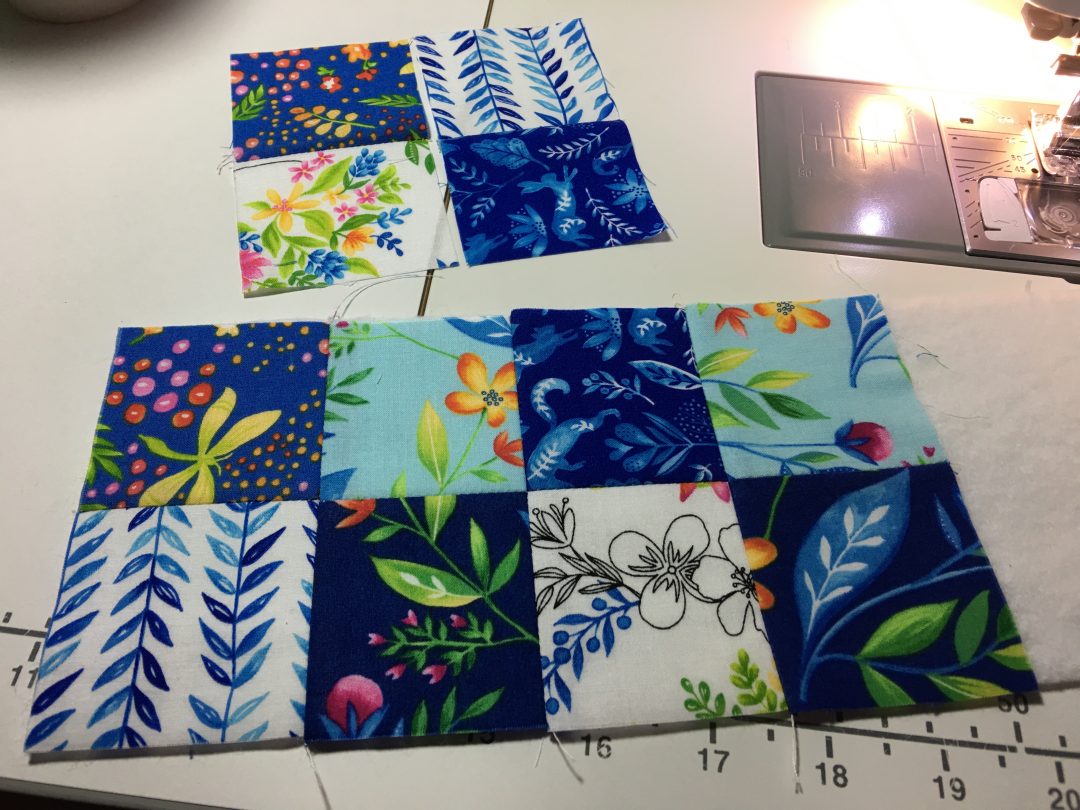 Sewing the 2 ½ squares on the batting
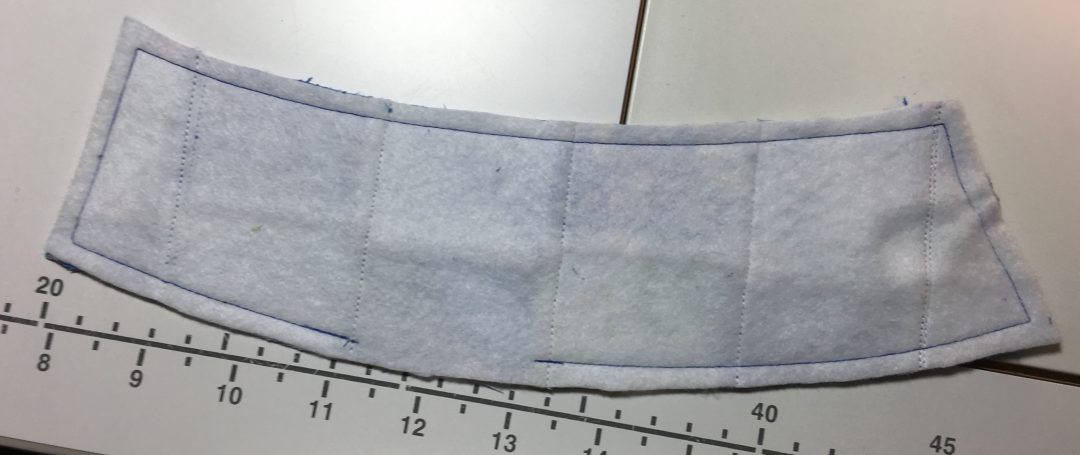
Second step, cut the shape : Use the template provided in the pattern to cut the unit.
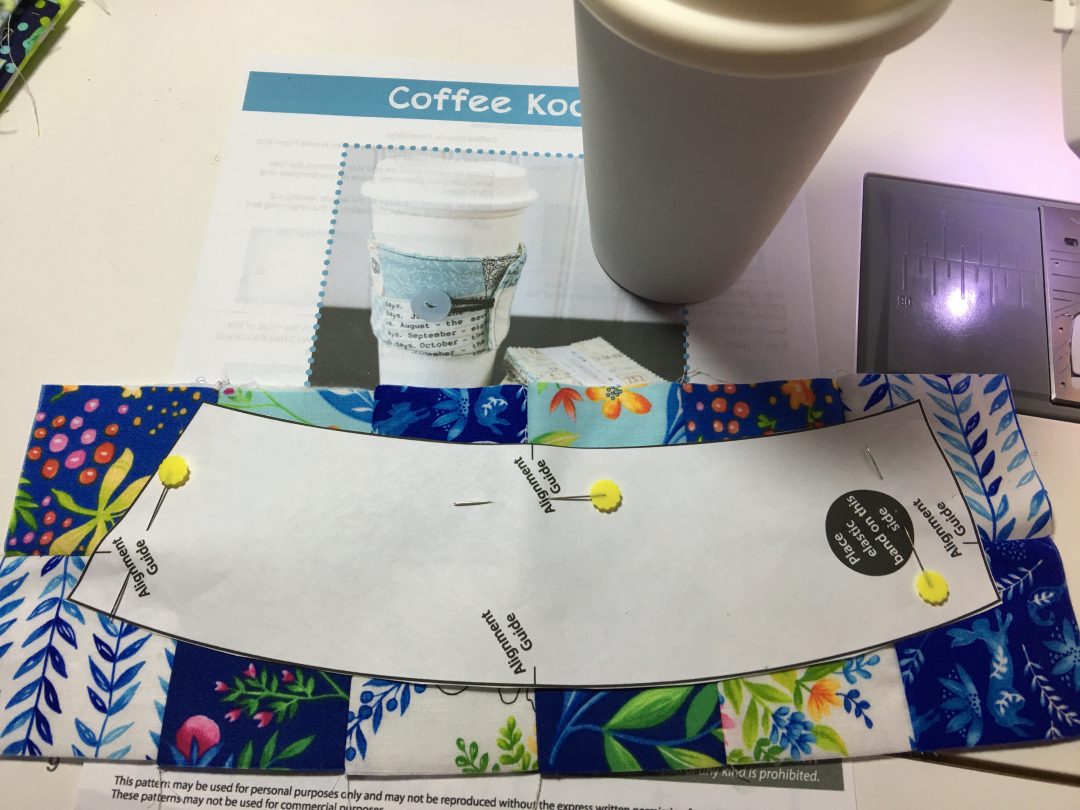 Take note of the alignment guides on the pattern piece. Align with your seam lines.
Cut all around the template with scissors.
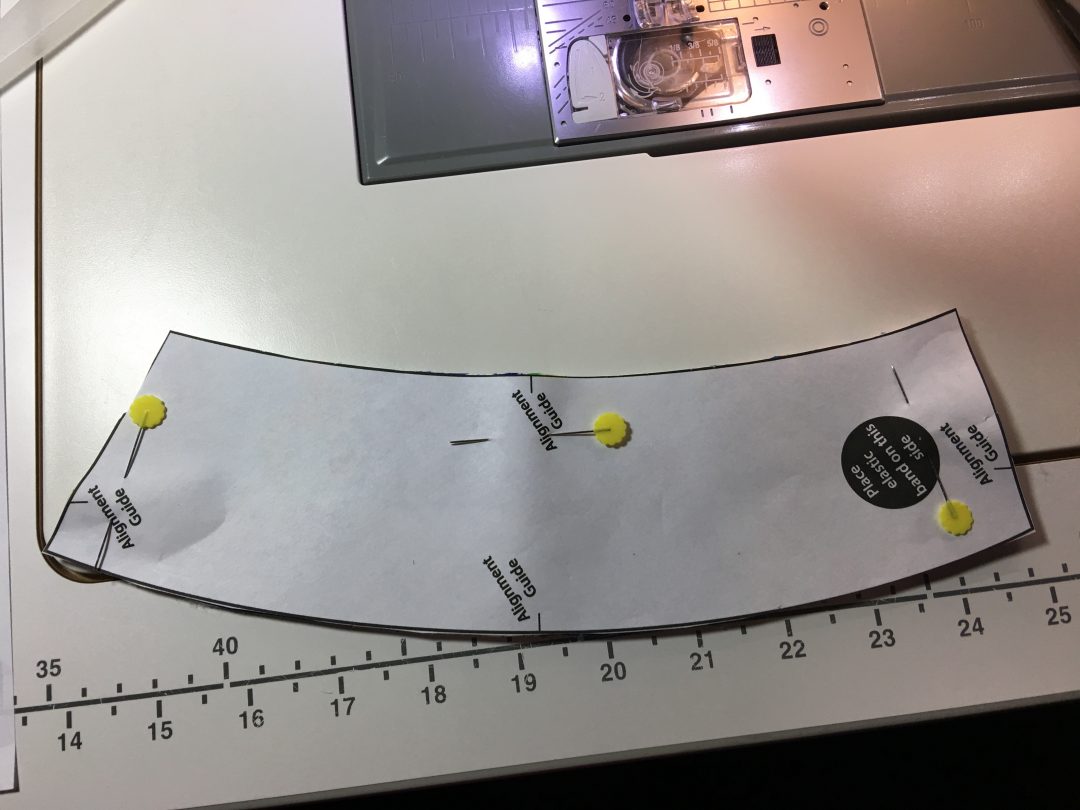 Template for coffee Koozie on top after trimming.
 This is how the top of the Koozie should look.
Third step, adding the lining: Now place the Koozie top, right side down on top of the backing fabric.
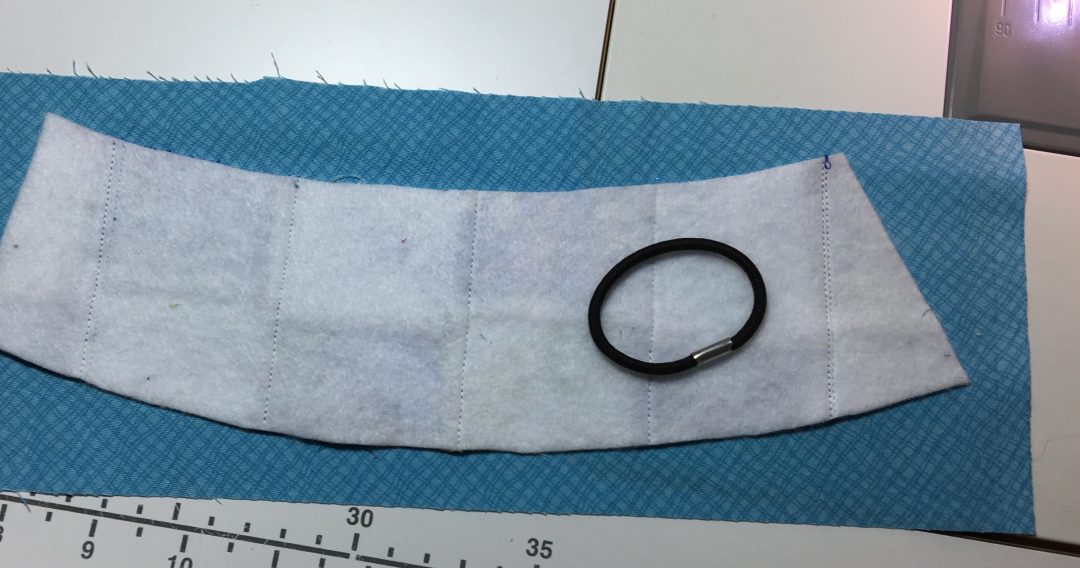
Adding the closure: For the closure, you will need a hair elastic. Sandwich it between the top and backing with the metal end sticking out slightly.
Sew all around the top with a ¼” seam, sewing over the elastic and leaving a 2″ opening for turning.
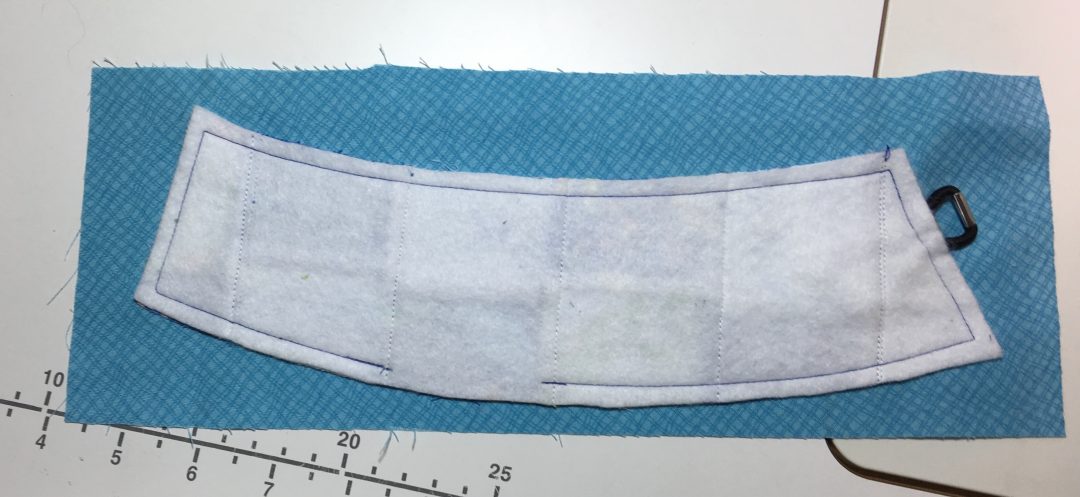 Trim backing fabric all around with scissors. Also trim the end of the elastic off.
 Koozie after trimming off backing.
Trim corners with scissors. Turn inside out through the opening.
Last step, topstitching: After trimming, press flat. Press the fabric in the opening towards the inside with a ¼” fold.
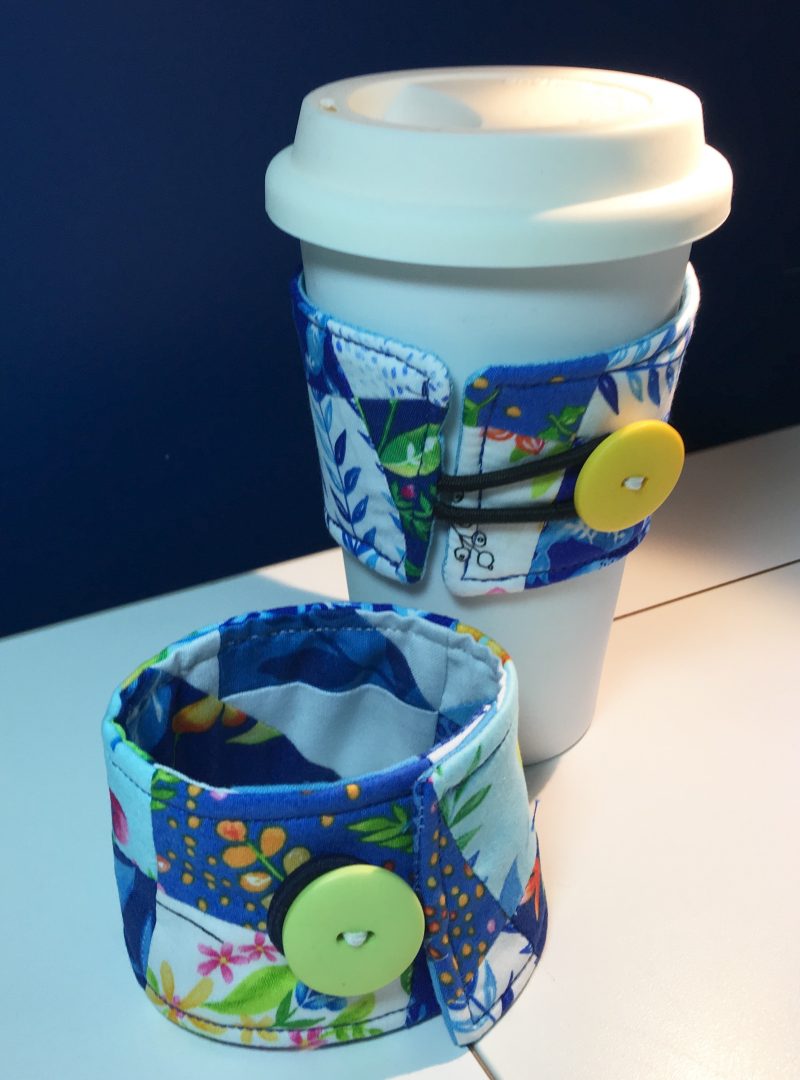
Top stitch all around with ⅛” wide seam; with this narrow seam, you should be able to catch the fabrics in the opening. Place the Koozie over your cup and mark the placement of the button. Sew the button in place.
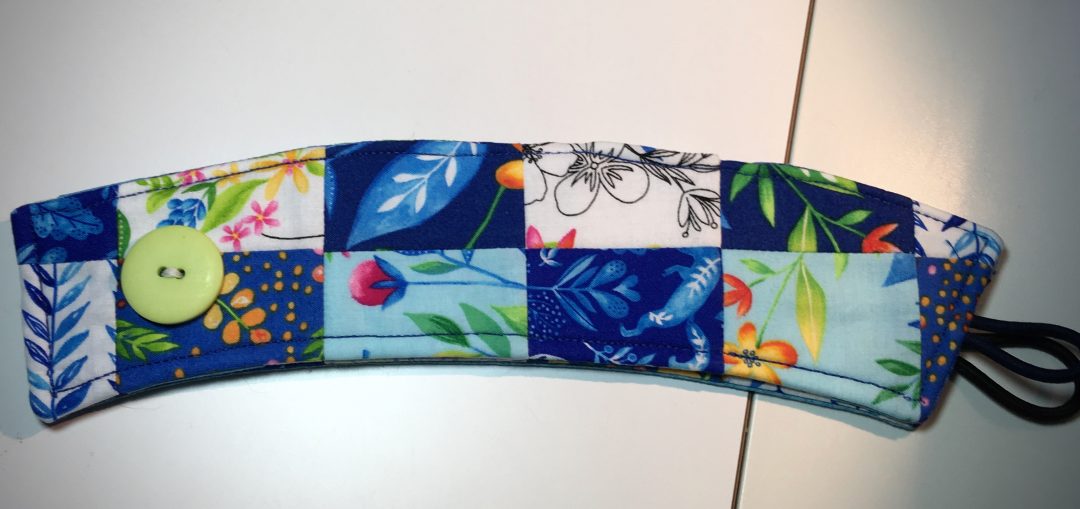
This is 2 Koozies one on top of the other. Note the topstitching all around, catching in the ¼” seam at the opening for turning the unit inside out.
Now enjoy: Place the Koozie on your cup or place in your purse to use next time your order a coffee. Use the Koozie instead of the cardboard sleeve provided by the Coffee Shop. It’s better for the environment! (and the Koozies make excellent gifts, especially with a gift card to a favorite coffee shop inside… as Kimberly suggested…!
Have fun making this project. Don’t hesitate to email me if you have questions. Thanks for visiting my blog.

Bonjour Louise,
Très beau projet! Merci de me faire partager tes nouvelles ”Découvertes”.